

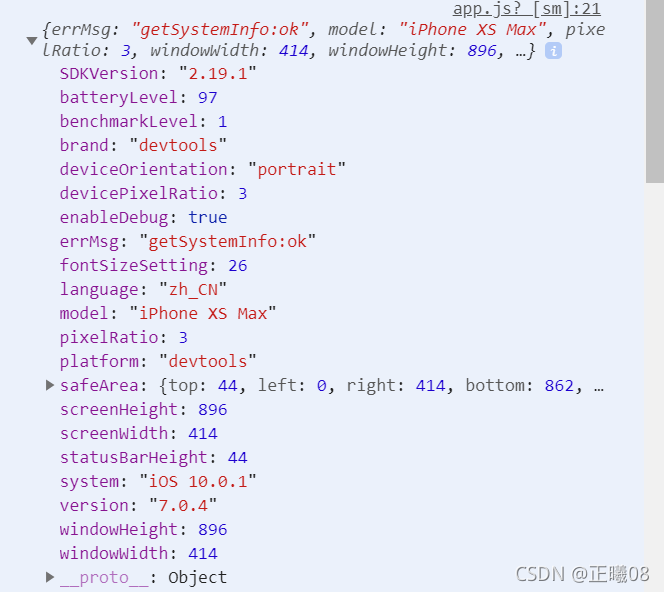
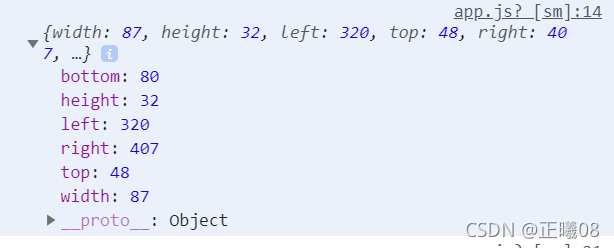
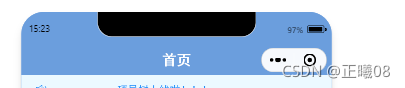
wx.getMenuButtonBoundingClientRect()和wx.getSystemInfo,里面分别有![]() 的信息和手机机型的信息(如下图),关键理解里面的长高定义。
的信息和手机机型的信息(如下图),关键理解里面的长高定义。
以下是部分代码,根据个人需求,我在app.js里面选择性存储了一些信息。并且思考每个界面所需要的按键,比如首页是不需要返回键的,可以设计一个事件进行隐藏部分键位。
globalData: { navheight: 0, navtop: 0, windowHeight: 0, height: 0, phoneCapsule: "", phoneInformation: "", }, let menuButtonObject =wx.getMenuButtonBoundingClientRect(); console.log(menuButtonObject) wx.getSystemInfo({ success: (res) => { console.log(res) this.globalData.navheight = res.statusBarHeight + menuButtonObject.height + (menuButtonObject.top - res.statusBarHeight)*2, this.globalData.navtop = menuButtonObject.top, this.globalData.windowHeight = res.windowHeight-menuButtonObject.right, this.globalData.height = menuButtonObject.height, this.globalData.phoneCapsule = menuButtonObject this.globalData.phoneInformation = res } })wxml:
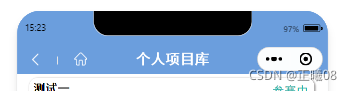
<view class="navBox" style="height:{{navheight}}px;"> <view style="margin-top:{{navtop}}px; width: 100%;"></view> <view class="nav_title" style=' line-height:{{height}}px;margin-top:{{navtop}}px;font-size:{{height*0.6}}px'> {{navbarData.title}} </view> <view class="nav_capsule" style='height:{{navheight - navtop}}px;' wx:if='{{navbarData.showCapsule}}'> <view bindtap='_navback' wx:if='{{!share}}'> <image src='/asset/cjnIcon/back.png' mode='heightFix' class='back-pre' style="height: {{height*0.50}}px; "></image> </view> <view class='navbar-v-line' wx:if='{{!share}}' style="height: {{height*0.35}}px"></view> <view bindtap='_backhome'> <image src='/asset/cjnIcon/home.png' mode='heightFix' class='back-home' style="height: {{height*0.55}}px"></image> </view> </view> </view>wxss:
.navBox { position: fixed; width: 100%; top: 0; color: #fff; z-index: 999; background-color: #6b9edd; } .nav_title { position: fixed; text-align: center; height: 1px; top: 0; left: 0; right: 0; bottom: 0; margin: auto; color: #fff; font-weight: 600; } .nav_capsule { display: flex; align-items: center; margin-left: 30rpx; width: 140rpx; justify-content: space-between; height: 100%; } .navbar-v-line { width: 1px; height: 32rpx; background-color: #e5e5e5; } js:
const app = getApp() Component({ properties: { navbarData: { //navbarData 由父页面传递的数据,变量名字自命名 type: Object, value: {}, observer: function (newVal, oldVal) {} } }, data: { navheight: 0, navtop: 0, windowHeight: 0, height: 0, phoneCapsule: "", phoneInformation: "", //默认值 默认显示左上角 navbarData: { showCapsule: 0 } }, attached: function () { this.setData({ height: app.globalData.height }) console.log(this.data.height) this.setData({ navheight: app.globalData.navheight }) console.log(this.data.navheight) this.setData({ navtop: app.globalData.navtop }) console.log(this.data.navtop) this.setData({ windowHeight: app.globalData.windowHeight }) console.log(this.data.windowHeight) this.setData({ phoneCapsule: app.globalData.phoneCapsule }) console.log(this.data.phoneCapsule) this.setData({ phoneInformation: app.globalData.phoneInformation }) console.log(this.data.phoneInformation) }, methods: { // 返回上一页面 _navback() { var pages = getCurrentPages(); // 当前页面 console.log(pages) var beforePage = pages[pages.length - 1]; // 前一个页面 console.log(beforePage.route) console.log("beforePage"); console.log(beforePage); if(beforePage.route=="pages/personalProject/personalProject"){ wx.switchTab({ url: '/pages/center/center', }) }else if(pages.length==1){ wx.switchTab({ url: '/pages/home/home', }) } else{ wx.navigateBack({ success: function() { beforePage.onLoad(); // 执行前一个页面的onLoad方法 } }); } // wx.navigateBack() }, //返回到首页 _backhome() { wx.switchTab({ url: '/pages/home/home', }) } } }) 观察上方js文件代码,在返回处,因为有一个界面会掉入一个“返回陷阱”(自己命名的),我做了一些处理,单独处理它的返回。此处是通过理解了 getCurrentPages()后设计了,至于以后有没有其他更加好的方法,还有待学习。
直接上代码
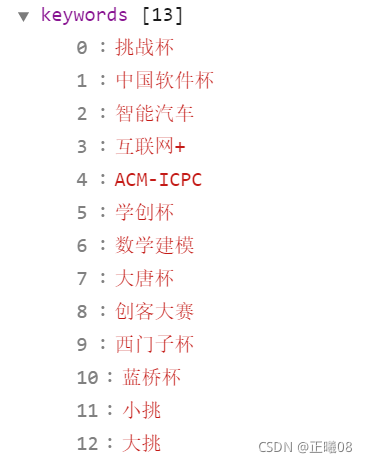
wx.request({ url: 'http://122.9.117.66:8080/project/getProjectKeywords', method: 'GET', fail: (res) => { console.log(res); }, success: (res) => { console.log(res); for (var i = 0; i < res.data.keywords.length; i++) { var name = "keywordSelectData[" + i + "].name"; var value = "keywordSelectData[" + i + "].value"; this.setData({ [name]: res.data.keywords[i].Keyword, [value]: res.data.keywords[i].Keyword, }) }; console.log(this.data.keywordSelectData) for (var i = 0; i < res.data.keywords.length; i++) { let detailValue = this.data.keywordSelectData.map(it => it.name) this.setData({ keywords: detailValue }) }; wx.setStorage({ key: "keywordSelectData", data: this.data.keywordSelectData }) wx.setStorage({ key: "keywords", data: this.data.keywords }) }想要从拿到的数据
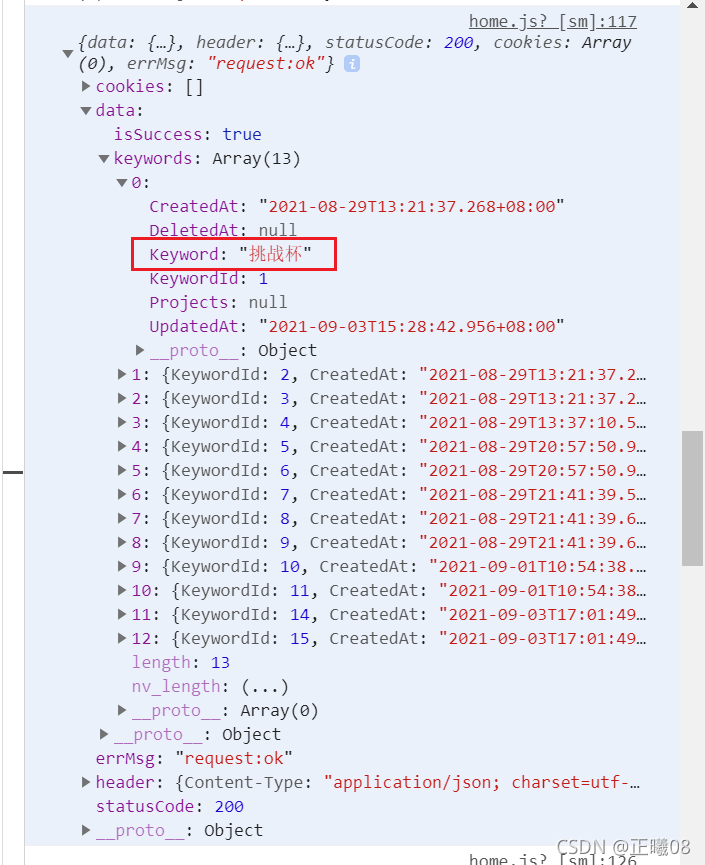
想要得到的效果